

After discounts. Some remote areas may incur additional charges.
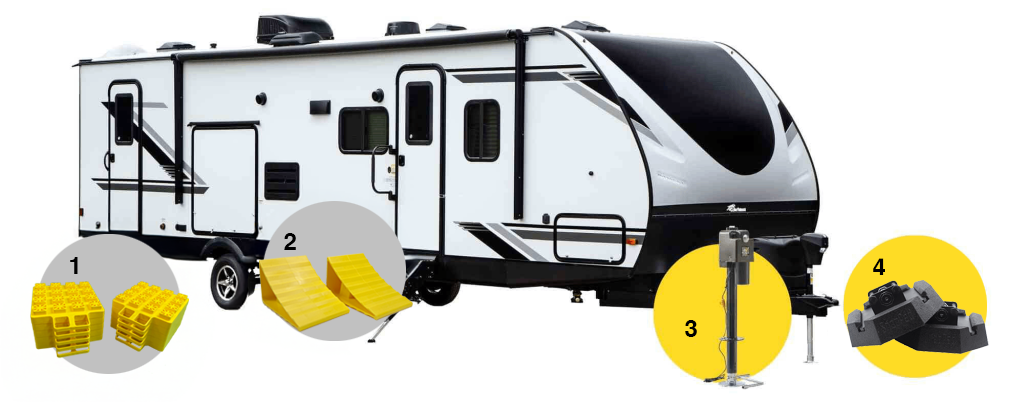
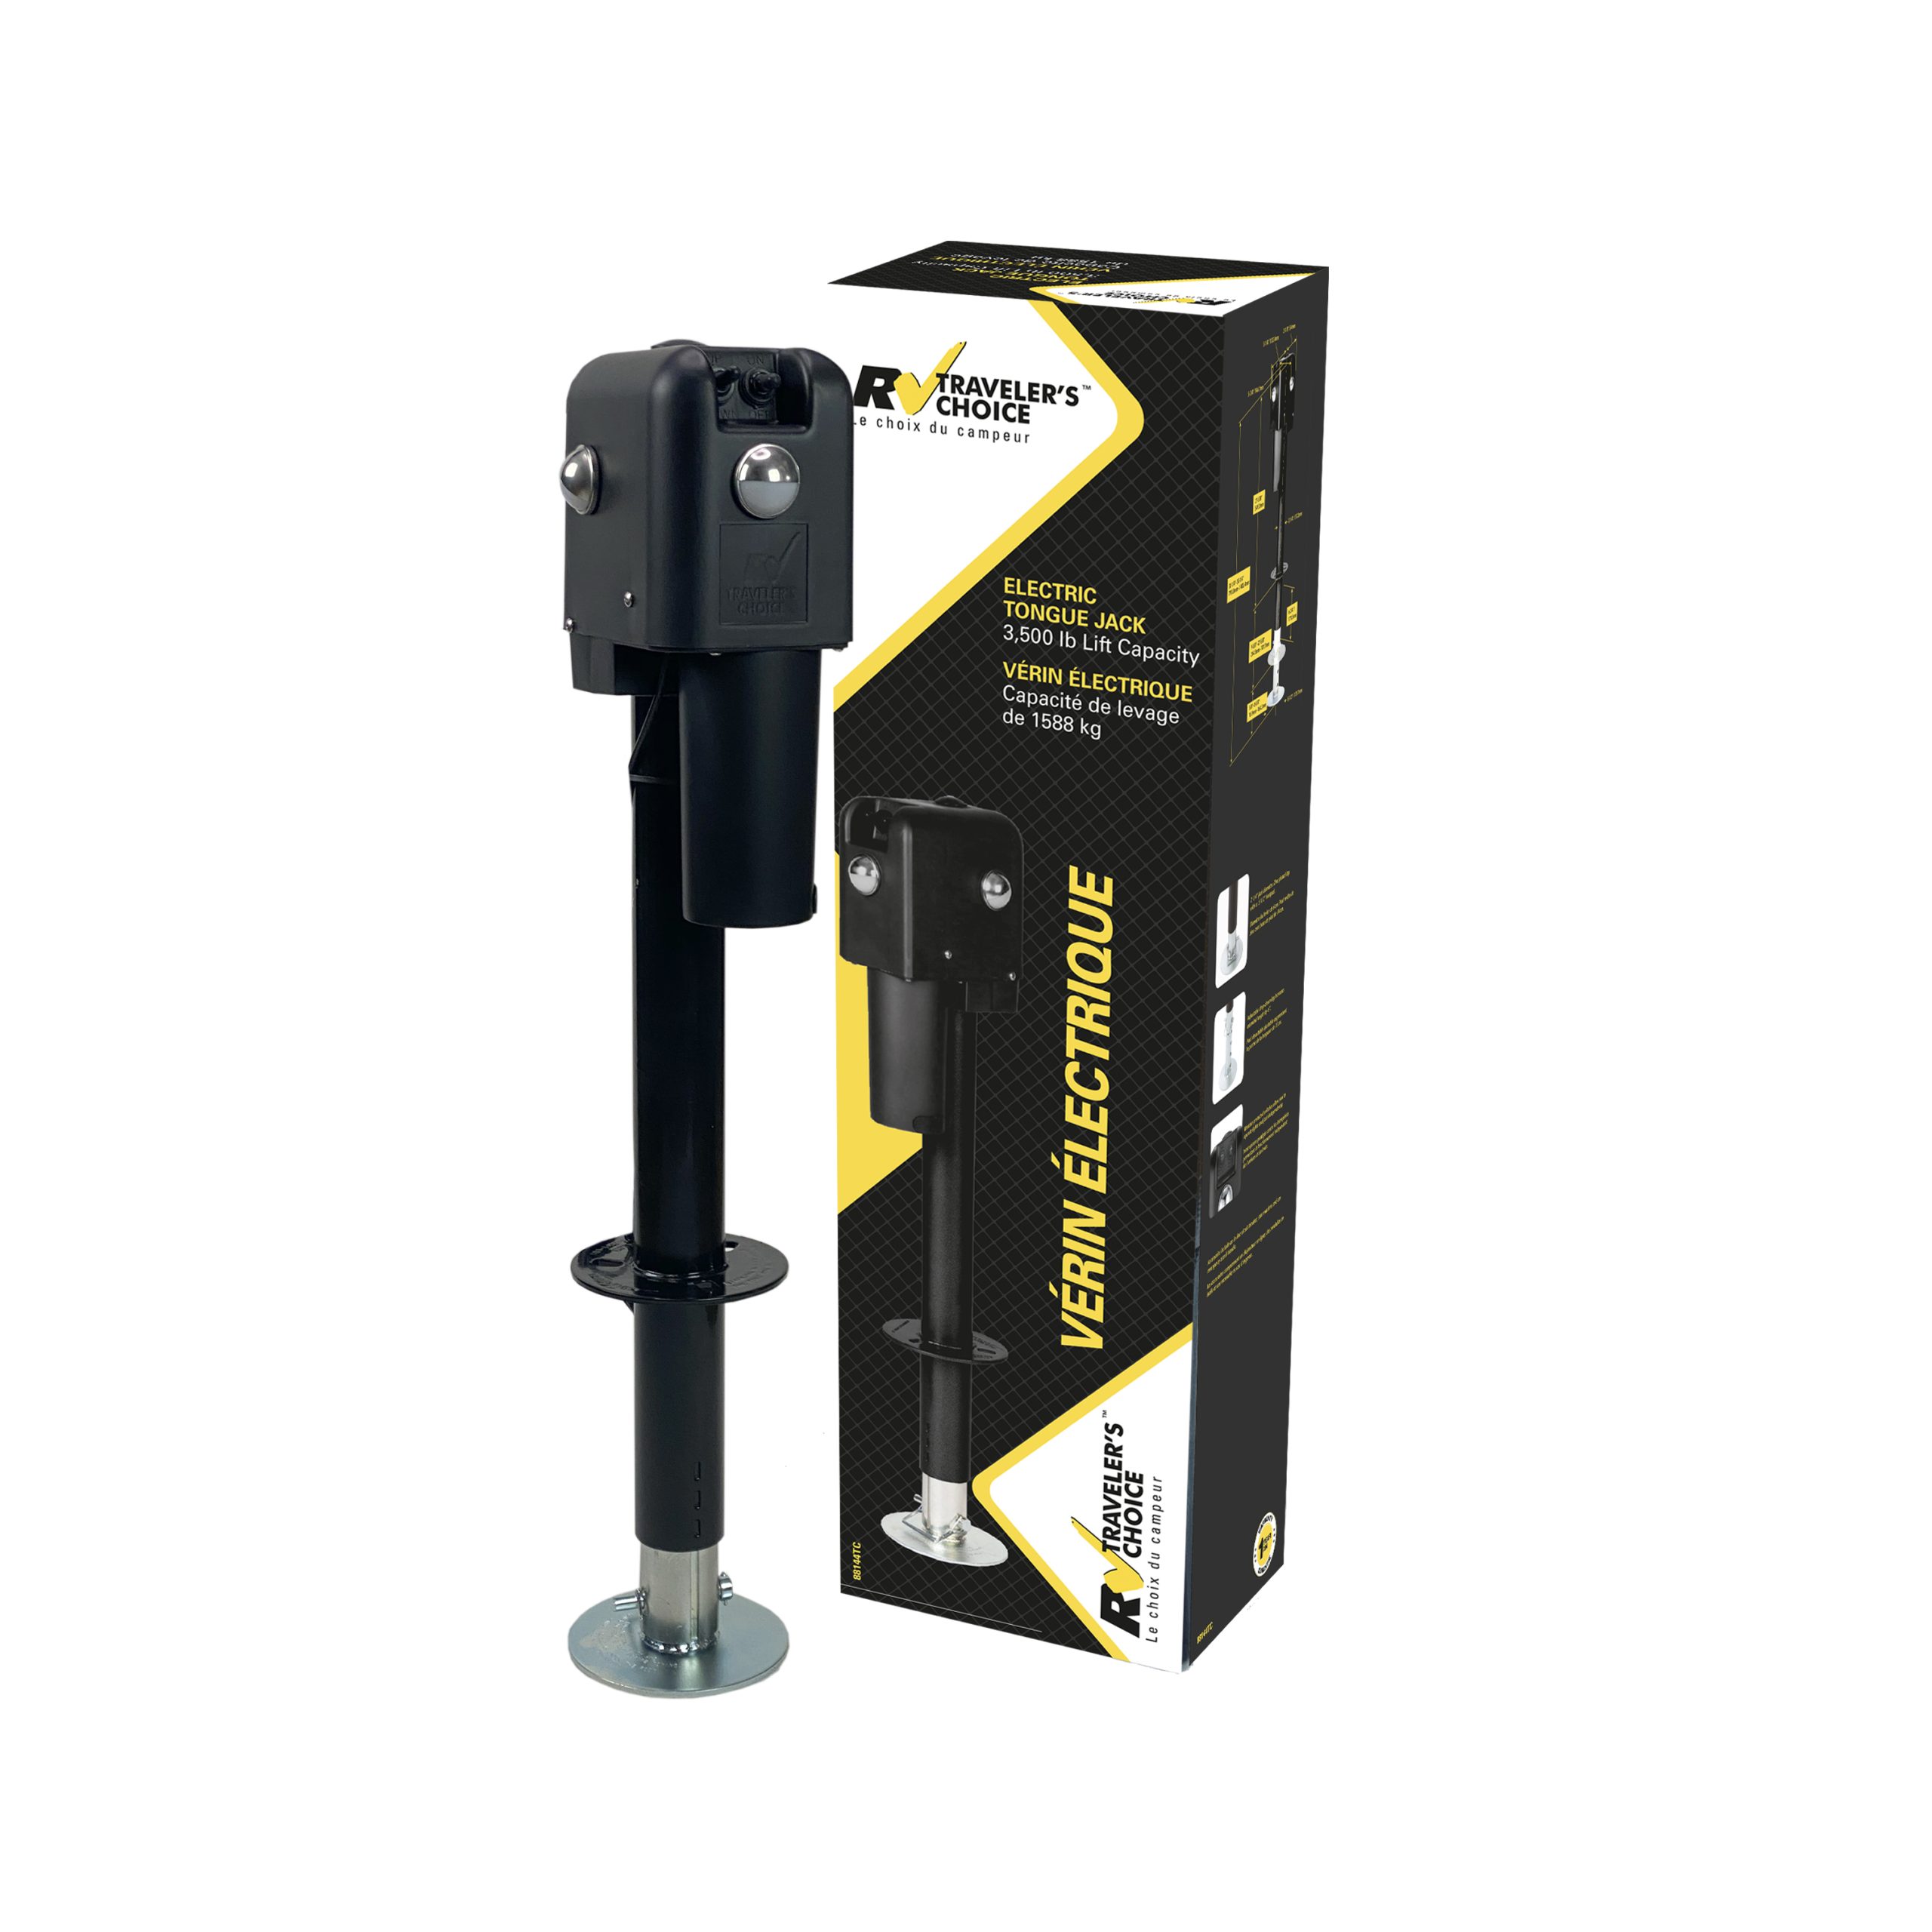
Before entering your RV, you must stabilize and secure your unit. You will need the following products; Interlocking Leveling Blocks, Scissor Jacks, Wheel Chocks, and a Power Jack, or manual Tongue Jack (Your RV came with one of these two products included).
Did you know that when you purchase an RV Traveler’s Choice product from an RV Care dealer, you get exclusive Extra Mile Rewards, including a 2 year warranty on all RV Traveler’s Choice products and 10% off on purchases made on shop.rvcare.ca?
The trailer’s wheels are backed onto one layer of leveling blocks on each side to help prevent sinking into the ground. If the lot is uneven, side to side, additional layers of leveling blocks should be added to raise the lower side to level with the higher side. For tandem axle trailers we recommend a minimum of 2 bags of blocks.
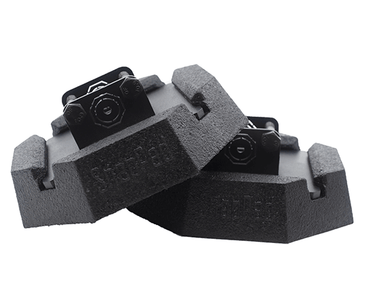
Once level, each side, chock the wheels to prevent rolling and increase stability. (Equally great for stopping wheel movement when changing tires)
You can now disconnect from the tow vehicle.
Front to back leveling is now done using the front-end Power Jack. Leveling blocks can be used under the front-end jack(s) to better disperse the weight and shorten the stroke length for increased stability.
by Credit Card, Google Pay and Apple Pay
in 2-3 business days
100% satisfied or your money back
Leave us your reviews here
*After discounts. Some remote areas may incur additional charges.
© 2026 RVCARE